 |
| Sunrise at Luxmoore Hut |
Distance/Type: Hike 60km / Loop
Terrain/Rating: Flat lakeside walk, then a slow steady climb into the mountains on the first day followed by undulating mountain and ridge walking down to river plain on second day.
Last one (or 2) days is a relatively flat river valley walk with an occasional short hill.
Start / Finish Times:
Day1: 7:20am / 12:00pm (4.5Hrs),
Day2: 7:00am / 12:00pm (5Hrs)
Day3: 7:30am / 11:00am MoturauHut / 3:00pm Control Gates (7.5hrs Te Anau)
Start / Finish Location: Te Anau Lakeview Holiday Park.
Map:

Trip Summary:
Another spectacular walk in the South Island of New Zealand, starting, as many do, from the hiking mecca of Te Anau.
This walk officially starts from the "Control Gates" of Lake Te Anau, but an extra 40 mins is added to the walk by starting from our accommodation Lakeview Holiday Park near the DOC offices in Te Anau.
A great variety walk, from lovely views along the lake on Days 1 and 4, spectacular ridge walks on Day 2 and waterfall and river walk on day 3, this is a fantastic, diverse walk to do.
It's a 4 Day hike but it can be done with a long day 3 if required.
You can also book a Tracknet shuttle to pick you up from Rainbow Reach back to Te Anau, they run 3 or 4 buses from there in the afternoon.
Trip Details:
Day 1:
From Lakeview Holiday Park we headed straight across the road to join up with the Lakeside Walk path along Lake Te Anau. Heading left along the lake path you pass the Te Anau bird sanctuary on your way to the Control Gates. There are toilets at the Control Gates.
 |
| TeAnau South Pier |
 |
| Control Gates |
We walk along edge of Lake Te Anau (Dock Bay) for a hour or so through some lush fern gullies before passing the first camping area of Brod Bay. For campers you'd need to leave here pretty early in the day as the next campsite is near Iris Burn Hut some 20+ km away.
 |
| Kepler Track along Dock Bay. |
There is a shelter here along with picnic tables, bbq and a toilet. Considering the pretty high standard of most facilities in NZ especially on the other Great Walks, these were surprisingly run down.
 |
| Brod Bay |
From Brod Bay we head inland and uphill through the forest full of Old Man's beard trees.
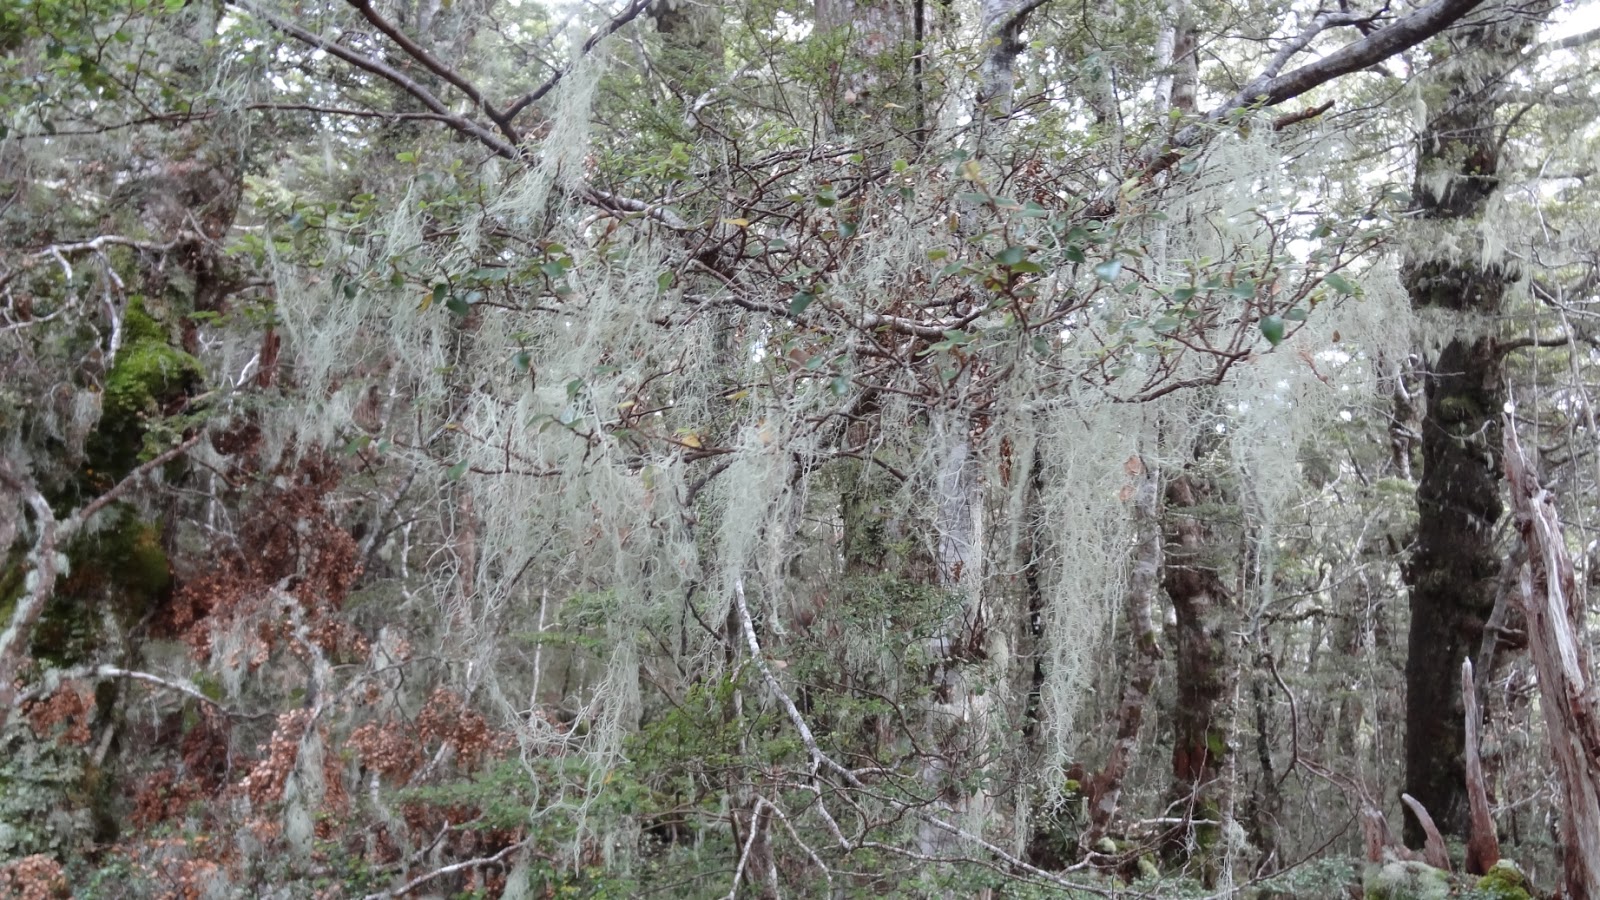 |
| Bearded Trees. |
There are occasional glimpses up high of Lake Te Anau along the way.
 |
| Lake Te Anau |
An hour or so up the track we walk through some limestone bluffs, this is the steepest uphill part of the walk and stairs are used to get through some of the area.

Another 30 minutes onwards and we break out of the forest onto the Mt Luxmoore plains ridge. From here there is less than 45 mins to the Luxmoore Hut.
 |
| Mt. Luxmoore plains ridge |
 |
| Lake Te Anau |

As with most of the huts on NZ Great Walks this one is very well equipped.

We arrived at Luxmoore Hut around noon after leaving Te Anau holiday park at about 7:30 in the morning which allowed us to soak in the amazing views from this prime location.
As with all of these huts, the earlier you arrive, the better the choice of bunk position as its a first in, first served.
 |
| Kitchen Views |
 |
| Neighbours |
 |
| View of hut from Cave sidetrip. |
 |
| Afternoon view of South Fiord. |
Day 2:
Being a bit of an early starter, waking up at 6am the next morning I was able to see a beautiful sunrise to start the day.
 |
| Low cloud in the early morning. |
 |
| View back down Kepler Track. |
 |
| Kepler Track. |
 |
| Forward Peak. |
There is 50m section of scree you have to negotiate across but the track through it is pretty well worn in and defined.
 |
| Mt. Luxmoore |
Continuing along the ridge you pass two emergency huts, Forest Burn Hut and another hour to Hanging Valley which are handy to take a break at.
Both have toilets, picnic table and roof collected water from a tap.
 |
| View down to Forest Burn Emergency Hut. |
 |
| Ridge track to Hanging Valley Emergency Hut. |
There is a bit of variance in height along this part of the trail as it works its way around the mountain range. This is a true ridge track between the two huts with great views on both steep sides.
I'm not great with heights, but these are not sheer drops so was quite comfortable with the track. |
| Hanging Valley Emergency Shelter. |
 |
| Hanging Valley Track to Iris Burn Lookout at the end. |
 |
| Hanging Valley stream |
Another 30 minutes along the well treed track you reach an intersection with the Iris Burn waterfall track.
Another 5 minutes past this intersection is the Iris Burn Hut.
The Day 2 section of the walk took about 5 hours.
 |
| Iris Burn hut |
The camping area is directly next to the hut.
 |
| Track to waterfall |
 |
| Iris Burn Waterfall |
Day 3:
Heading out the next morning along a nice valley walk within 5 minutes we reach the "Big Slip".
A landslide that cleared out a chunk of vegetation off the side of the mountain during a downpour in 1984.
 |
| Big Slip |
Within 90 minutes we reach the Rocky Point workcamp and shelter. There is a pit toilet here.
The sign here conservatively says we are 3 hrs from both Iris Burn and Moturau huts.
Most people would walk it well within those times.
 |
| Rocky Point hut |
30 minutes on we head through forest with a few small hills and switchbacks.
 |
| Switch backs |
Another 60 minutes we reach the shoreline of Lake Manapouri.
 |
| Lake Manapouri |
Within 5 minutes we are at Moturau Hut. It has taken about 3 hours to reach here.
 |
| Moturau Hut |
 |
| Moturau Hut views |
Day 3/4:
With it being only 11am I decided to have lunch and then push on to finish the hike rather than stay overnight here.
30 minutes along, the track changes to a boardwalk through wetlands with a viewing platform at Spirit Lake.
We cross a stream via a footbridge and reach the shoreline of the Waiau River in about 1 hour.
 |
| Waiau River |
30 mins walk along the river track we reach the Rainbow Reach footbridge.
On the other side of the river is a picnic area with toilets, picnic tables, a shelter and tank water.
The Rainbow Reach carpark is right next to the picnic area and could be used as an early exit.
A couple of companies can arrange a pickup from here.
 |
| Rainbow Reach footbridge |
 |
| Control Gates |
A great video of the trip can be located here


